 Bellingham Siding
 Siding Installation in South Hill
South Hill sits above the rest of Bellingham, and that elevation shapes almost everything about how a siding job needs to be built there. Homes on the hill catch weather differently than homes down near the flats — more direct wind off the bay on the exposed sides, more shade and slower drying under mature tree canopy on the others, sometimes both on the same house depending on which wall you're looking at. It's also one of Bellingham's older, more established neighborhoods, which means a lot of the siding work we do there is replacement work on homes with real age on them, not new construction. That combination — older wall assemblies, mixed sun and shade exposure, and a hillside position that catches wind-driven rain from more than one direction — is exactly the kind of job where installation quality matters more than the marketing on the siding box.
We install James Hardie fiber cement siding exclusively, and everything below is about what a siding installation actually needs to hold up on a South Hill home specifically, not a generic description of how siding goes on.
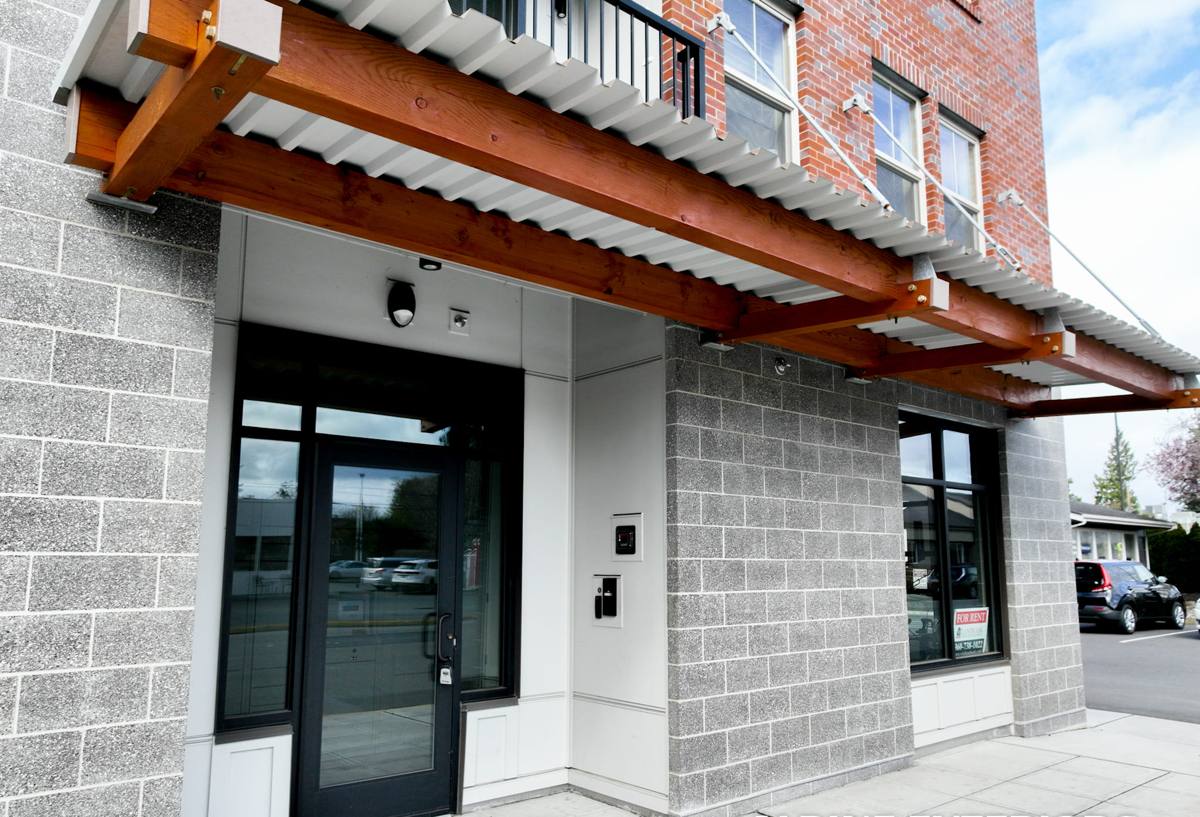
What South Hill's Climate and Terrain Ask of a Siding Job
Wind-Driven Rain on Elevated, Exposed Walls
Bellingham's rain doesn't fall straight down most of the year, and a house sitting higher up catches more of that sideways push than one tucked into a low, sheltered lot. Walls facing the open side of the hill take direct wind-driven rain, which means the flashing, house wrap laps, and joint details on those walls have to be done right the first time — there's less margin for a shortcut to go unnoticed.
Mature Tree Cover and a Long Moss Season
South Hill's tree canopy is part of what gives the neighborhood its character, and it's also why shaded walls there stay damp longer than walls with more open sun exposure. That extended dampness is exactly what moss and mildew need, and it's a big part of why moss season in this part of Whatcom County runs most of the year on north- and tree-shaded elevations, not just a few wet winter months.
Older Wall Assemblies Behind Existing Siding
Because a lot of South Hill's housing stock has some age on it, siding replacement here often means opening up a wall that hasn't been looked at in decades. Sometimes that reveals a wall assembly that's held up fine; sometimes it reveals moisture damage, inadequate house wrap, or trim details that were never quite right to begin with. Either way, it needs to be dealt with before new siding goes up, not covered over.
What's Usually Coming Off a South Hill Home
The siding we remove on South Hill projects varies more than it does in newer neighborhoods, simply because homes there were built and re-sided across a wider range of decades. A rough sense of what we typically find, and what it usually means for the project:
| Existing Material | What We Often Find | What It Means for the Project |
|---|---|---|
| Original cedar siding | Weathering, paint failure, some soft spots at grade or under downspouts | Wall sheathing usually needs inspection before new siding goes on |
| Aluminum or older vinyl | Warping, fading, sometimes hiding moisture issues underneath | Full tear-off gives us a first real look at the wall in years |
| Older fiber cement or hardboard | Edge swelling or delamination, especially at butt joints | Often points to a fastening or flashing detail that needs correcting this time around |
| Stucco or masonry-style finishes | Cracking, staining at penetrations | Requires a different tear-off and prep approach than lap or panel siding |
None of this is unusual for a neighborhood with South Hill's age range — it's just why we treat every quote as a walkthrough first, not a number pulled off square footage alone.
What a Correct Installation Actually Involves
The finished wall looks simple. What's underneath it is where a siding job earns its lifespan, especially on a hillside with this much exposure variation wall to wall:
- Full removal of failing old siding rather than covering over it, so the crew can actually see the wall condition underneath
- Repair of any rot, soft sheathing, or moisture damage found during tear-off before new material goes up
- House wrap or weather-resistive barrier installed and lapped shingle-style, correctly sequenced with window and door flashing
- A drainage gap behind the siding on walls that need it, so any moisture that does get past the surface has somewhere to go
- Corrosion-resistant fasteners at the spacing James Hardie's installation instructions call for, not a generalized "close enough" pattern
- Properly lapped, sealed transitions at windows, doors, corners, and the base of the wall — the places where most siding failures actually start
- Field-cut edges primed before installation so the factory finish isn't the only thing standing between the material and the weather
Skip any one of these steps and the siding can still look right for a season or two. The consequences — staining, soft trim, paint failure at seams, moisture tracking behind the wall — take a few wet seasons on a hill like this to show up, which is exactly why they're easy for a rushed install to get away with until it's the homeowner's problem.
Why We Install Only James Hardie
We don't offer LP SmartSide, vinyl, Cemplank, Allura, primed spruce, or cedar siding. Those are legitimate products, and other contractors install them competently. Our reasoning is specific to what this exposure does to a wall over time: engineered wood and cedar both depend on consistent edge sealing and maintenance to resist moisture, vinyl can go brittle and gap in temperature swings, and none of them carry a factory finish built for a climate this consistently wet. James Hardie's fiber cement doesn't expand and contract with moisture the way wood-based siding does, the HZ5 product line is engineered for the kind of freeze-thaw and moisture cycling this region sees, and the factory-applied ColorPlus finish means the paint isn't something we're gambling on holding up outdoors — it's baked on before the boards ever reach the site. On a hill with this much exposure variation, that's the one variable we'd rather not leave to chance.
Our Process for a South Hill Project
Walkthrough and Assessment
We start by walking the specific walls involved — which face the open wind, which sit under tree cover and stay damp longer, and whether the existing siding is hiding anything that needs attention before new material goes up. On an older home, this step tells us more about the real scope of the job than the square footage number ever will.
Planning Before Tear-Off Starts
We work out flashing details, corner treatments, and how the new siding will meet existing trim, windows, and rooflines before crews start removing the old material. Hillside homes often have less standard geometry than newer construction, so planning ahead avoids field improvisation once the wall is open.
Installation to Manufacturer Spec
Every fastener, gap, and flashing lap follows James Hardie's published requirements for this climate zone. That's what keeps the manufacturer's warranty intact, and it's also just the standard that holds up on a wall exposed to this much wind-driven rain and shade-driven moisture.
Final Walkthrough
We walk the finished job with you, explain what little maintenance the material actually needs, and make sure you know what a properly finished wall looks like so you can check it yourself down the road.
Why Hire a Crew That Already Works This Neighborhood
South Hill rewards experience with its specific mix of exposure and age in a way a lot of neighborhoods don't. A crew that's worked this hill across multiple wet seasons already knows which orientations need extra flashing attention because of wind, which walls need a drainage gap because of shade and tree cover, and what to expect when an older wall gets opened up. That judgment doesn't show up on an estimate sheet, but it's the difference between a wall that still looks and performs the same in twenty years and one that starts showing problems at the seams within five.
Cost Factors for South Hill Siding Installation
Every siding installation is priced around the specific home, but a few things move the number more than others on South Hill projects in particular:
| Factor | Why It Matters |
|---|---|
| Age and condition of existing wall assembly | Rot or moisture damage found at tear-off adds repair scope before new siding goes up |
| Number of exposures (sun vs. shade walls) | Walls needing a drainage gap or extra flashing attention take more labor than a standard wall |
| Wall height, dormers, and roofline complexity | More corners and transitions mean more cuts and flashing details |
| Trim and window count | Each opening adds flashing and finish work |
| Site access on hillside lots | Steeper or tighter lots can add setup and staging time |
We'll walk your specific home and give you real numbers based on what we actually find, rather than a rough estimate off square footage alone — two homes of the same size on South Hill can have very different scopes once the old siding comes off.
Getting It Right on a Hillside Home
Siding installation on an exposed, shaded, or older hillside home isn't a job where "close enough" holds up over time. The wind, the shade, and the age of the wall assembly all compound the consequences of a shortcut, and correcting a wall that was installed wrong usually costs more than doing it right the first time would have. That's the standard we hold every South Hill project to, from tear-off through the final flashing detail.
If you're planning a siding project for a home on South Hill, we're happy to walk the property, talk through what your specific walls need given their exposure and age, and give you a straightforward, no-pressure estimate. There's a form below — reach out and we'll set up a time to take a look.