 Bellingham Siding
 Storm Damage Roof Repair in Lynden
Lynden sits in a part of Whatcom County that gets hit from two directions every winter: wind systems rolling in off the water pile moisture-heavy air against the foothills, and that air doesn't move on quickly. The result is long stretches of driving rain, gusty windstorms that come through several times a season, and a moss season that can run eight months or more on shaded and north-facing roof slopes. None of that is unusual for this part of Washington, but it does mean roofs here take a different kind of beating than roofs in drier climates, and storm damage often isn't as obvious as a missing shingle in the yard. Sometimes it's a slow leak that started three storms ago and only just worked its way through the sheathing.
This page is specifically about storm damage roof repair for Lynden-area homes — what actually causes it here, what a correct repair looks like, and how we handle the job from first call to final inspection.
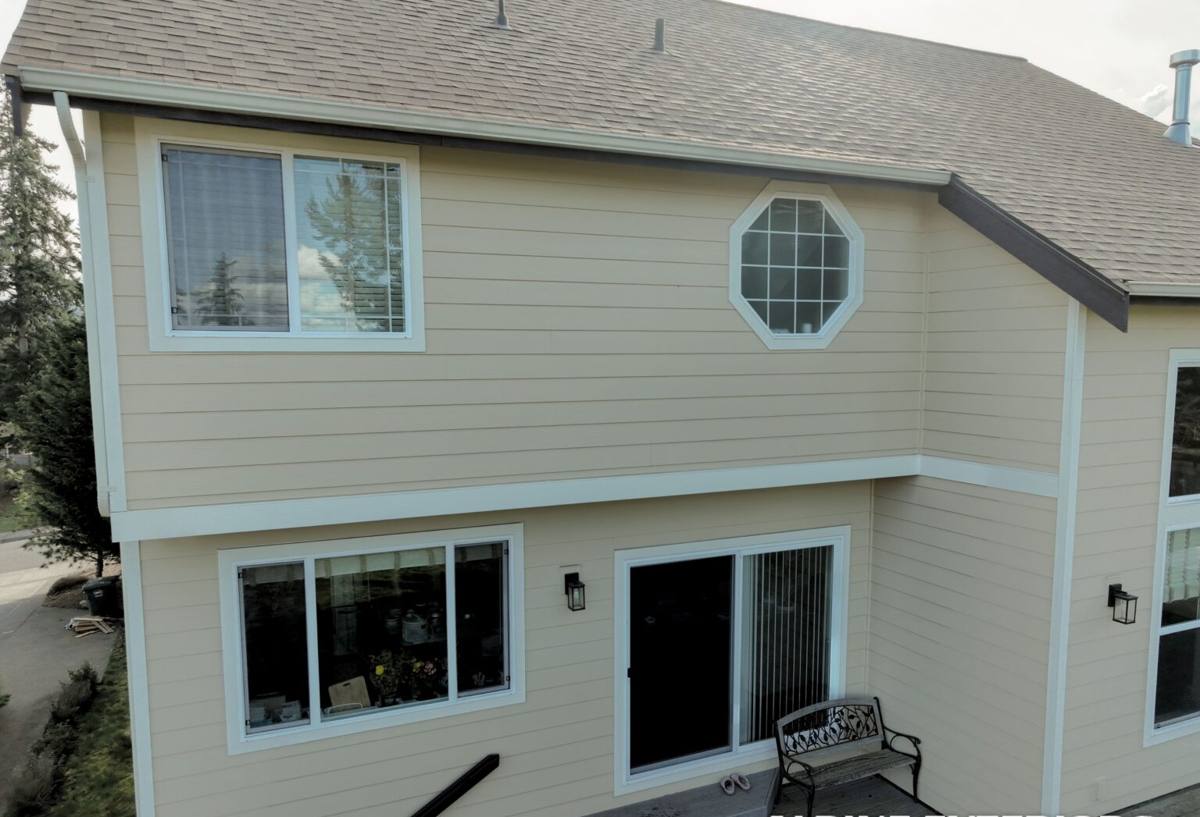
What Storm Damage Actually Looks Like on a Local Roof
"Storm damage" covers more than wind ripping shingles off. In this climate, most of the damage we get called out for falls into a few categories:
Wind Damage
Gusts don't need to be extreme to cause problems. Shingles that have already started to lift from age, heat cycling, or improper nailing will tear loose in winds that a newer, properly fastened roof shrugs off. Ridge caps and roof edges are usually the first to go because they take the brunt of uplift.
Wind-Driven Rain Intrusion
This is the one homeowners underestimate most. When rain comes in sideways during a storm, it can be forced up and under shingles, around flashing, and through small gaps that never leak in normal weather. You often don't see the effects until weeks later, as a stain on a ceiling or a musty smell in an attic.
Debris Impact
Fir and cedar limbs come down in wind events, and even a small branch can crack a shingle, dent metal flashing, or punch through a weakened section of roof deck.
Moss-Weakened Areas That Fail Under Storm Stress
A roof with a heavy moss mat isn't just ugly — moss holds water against the roofing material and lifts shingle edges over time, so those areas fail first when wind and rain hit them hard. Storm damage often shows up first exactly where moss has been left to grow.
Why Getting It Fixed Correctly (and Promptly) Matters Here
In a drier region, a small storm-caused gap might sit unnoticed for a season without much consequence. In Whatcom County's wet cycle, that's not the case. Once water gets past the roofing surface, the combination of persistent moisture and mild temperatures is close to ideal for rot and mold growth in sheathing and framing. A repair that only patches the visible symptom — say, replacing a torn shingle without checking the underlayment and decking beneath it — can leave hidden moisture doing damage for months before it resurfaces as a much bigger problem.
That's the core difference between a quick patch and a proper storm damage repair: a proper repair traces the water's actual path, not just where it became visible.
What a Proper Storm Damage Repair Involves
1. Inspection Before Anything Else
We look at the damaged area and everything around it — adjacent shingle courses, flashing, valleys, and the roof deck itself if there's any sign of moisture intrusion. Storm damage is rarely contained to one clean spot.
2. Temporary Protection When Needed
If a repair can't happen immediately — during an active storm system or when a full assessment is needed first — the priority is keeping water out with proper tarping or temporary sealing until the permanent repair can be done right.
3. Removing and Replacing Compromised Material
Cracked, torn, or lifted shingles get removed, not just resealed over. Any wet or soft decking underneath gets replaced, not covered up — sealing over damp wood traps moisture and guarantees a repeat problem.
4. Flashing and Detail Work
A large share of storm-related leaks trace back to flashing — around chimneys, vents, valleys, and roof-to-wall transitions — rather than the shingle field itself. Repairing the shingles without addressing compromised flashing is one of the most common ways a "fixed" roof leaks again in the next storm.
5. Matching and Blending
Where possible, we match replacement material to the existing roof so the repair doesn't stand out as a patch, and shingle courses are woven in correctly rather than just overlaid.
Repair Approaches for Common Storm Damage Types
| Damage Type | Typical Cause | What the Repair Involves |
|---|---|---|
| Missing or torn shingles | Wind uplift, prior loose fastening | Remove damaged course, inspect underlayment, replace and reseal tabs |
| Active leak / ceiling stain | Wind-driven rain intrusion, failed flashing | Trace water path, replace flashing and affected decking, reroof local area |
| Cracked or dented shingles/metal | Falling branches or debris impact | Spot replacement of the impacted section, deck check for punctures |
| Lifted edges near moss mats | Long-term moisture retention under moss | Moss removal, shingle repair or replacement, evaluate for zinc/copper strip prevention |
| Sagging or soft roof sections | Prolonged hidden moisture from an earlier storm | Deck replacement, full assessment of surrounding structure before re-covering |
Repair vs. Full Replacement
Storm damage doesn't always mean a full roof replacement, and it doesn't always mean a simple patch either. The honest answer depends on a few factors we walk through with every homeowner:
- Age of the roof: A roof already near the end of its service life may not be worth patching repeatedly if storm damage keeps recurring in new spots.
- Extent of hidden moisture: If decking is compromised in multiple areas, a targeted repair may just relocate the next leak rather than solve it.
- Material availability for matching: Very old or discontinued shingle lines can be hard to match cleanly, which affects whether a repair or a larger re-cover makes more sense.
- Insurance scope: Storm-related claims sometimes cover a full slope or full roof replacement rather than a spot repair, depending on the damage documented.
- Underlying ventilation issues: Poor attic ventilation compounds moisture problems in our climate; if that's part of the picture, it's worth addressing alongside the repair.
We'll always tell you plainly which situation you're in rather than defaulting to the most expensive option.
Materials We Use and Why
For storm repairs, we use roofing materials and underlayment rated for wind uplift and matched to what performs well in sustained wet-climate exposure — not the cheapest available option that happens to look similar. On flashing, we favor durable metal over lightweight alternatives because flashing takes the most repeated stress in a wind-driven-rain climate and is the hardest part of a roof to get back to once it's covered. Our standard is to install materials correctly to their own installation specs — proper nailing patterns, proper overlap, proper sealant — since most premature storm failures we see trace back to installation shortcuts rather than the material itself.
Our Process, Start to Finish
1. Call or Request an Estimate
Tell us what you're seeing — a leak, visible damage, or just a storm that had you worried. We'll get a look scheduled.
2. On-Site Assessment
We inspect the roof and document the damage, including anything relevant for an insurance claim if you're filing one.
3. Clear Explanation and Written Estimate
You get a straightforward explanation of what's actually wrong, what repair option fits, and a written cost estimate before any work starts.
4. The Repair
Work is done to match the surrounding roof and to current flashing and fastening standards, not just patched to pass a glance from the ground.
5. Final Check
We confirm the repair is watertight and walk you through what was done.
After a Storm: A Quick Homeowner Checklist
- Check the attic (if accessible) for new stains, damp insulation, or a musty smell after any significant wind or rain event.
- Look at gutters and downspouts for granules or shingle fragments, which can indicate wind abrasion or hail-type impact.
- Note any branches or debris that came down near or on the roofline.
- Watch for ceiling stains in the days following a storm, not just immediately after — some leaks take time to show.
- Avoid climbing onto the roof yourself to inspect storm damage; a fall risk isn't worth a visual check you can get done safely by a professional.
- Photograph any visible exterior damage from the ground if you're planning to file an insurance claim.
Why a Crew That Already Works in Lynden Makes a Difference
Roofing crews that work Whatcom County regularly see the same climate patterns repeat year after year — which roof orientations hold moss longest, which flashing details tend to fail first in wind-driven rain, and which repairs actually hold up through the next wet season versus which ones just look fixed for a few months. That local pattern recognition matters more in storm repair than in almost any other roofing work, because storm damage is often about tracing a problem back to its real cause rather than just replacing what's visibly broken. A crew unfamiliar with how this region's weather actually behaves is more likely to treat the symptom and miss the source.
Get a Free, No-Pressure Estimate
If your Lynden-area home has visible storm damage, a new leak, or you just want a roof checked after a rough windstorm, we're glad to take a look. Use the form below to request a free estimate — no pressure, just a straight answer about what your roof actually needs.