 Bellingham Siding
 Building New in Silver Beach? The Windows Have to Be Right the First Time
New construction gives you one real chance to get window installation right. Once the siding, trim, and interior finishes go on, the flashing and sealing details behind them are buried for good. If a window was set wrong, or the weather-resistive barrier wasn't lapped correctly around it, nobody finds out until there's a stain on the drywall or rot in the sheathing years later. For homes going up in Silver Beach, that margin for error is even smaller. Bellingham's marine climate doesn't punish a bad install right away — it punishes it slowly, season after season, until the damage is expensive.
We install new-construction windows as part of our siding work, which means we think about the window and the siding as one connected system, not two separate trades that happen to meet at the same opening. That's the difference between a window that looks fine at closing and one that's still performing in fifteen years.
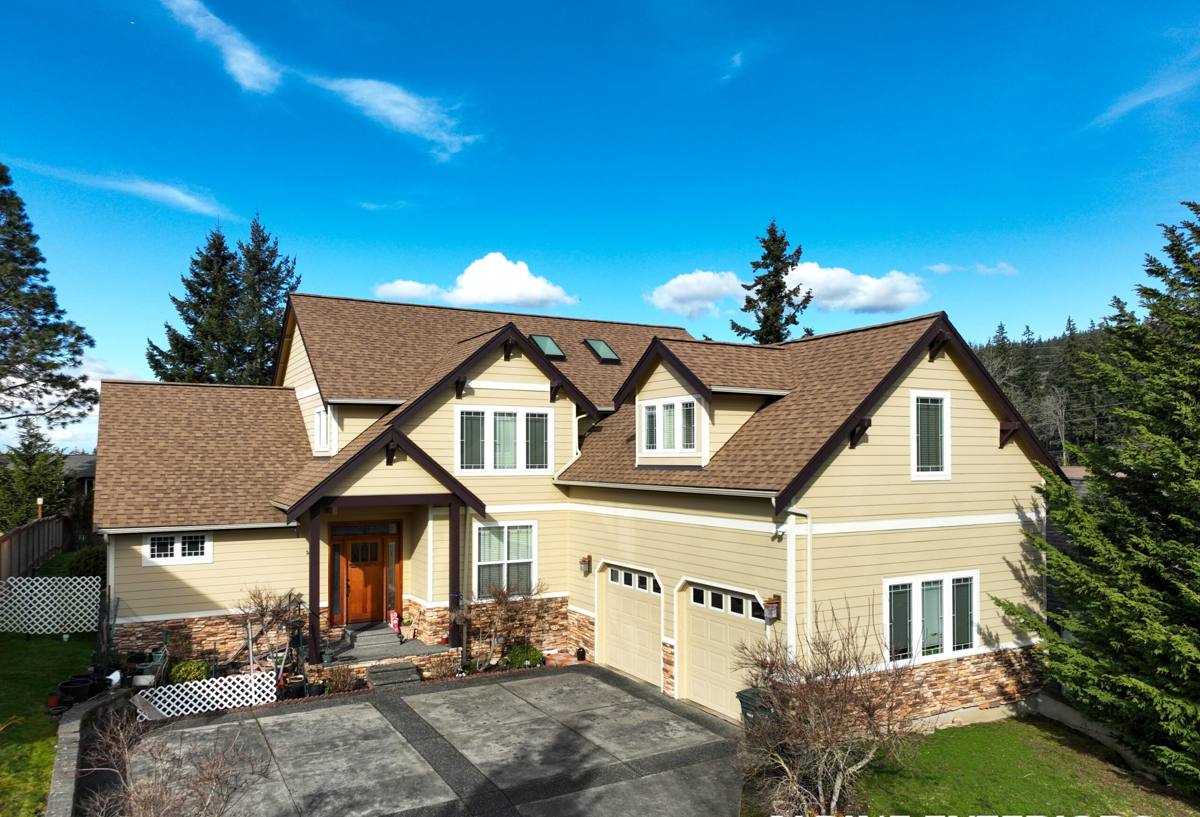
What This Climate Actually Asks of a Window Install
Whatcom County sits in a wet, marine climate zone, and Bellingham gets the full package: long stretches of driving rain, humid air off the water, and short winter days that keep north-facing walls damp for weeks at a time. Moss and algae find any surface that stays wet, including window trim and sills that weren't detailed to shed water properly. None of this is exotic weather — it's just persistent, and persistence is what finds the weak point in a window installation.
The three things we're always solving for
- Bulk water management — getting rain that hits the window to drain out and away, never inward, even during a sustained atmospheric-river storm.
- Air and moisture sealing — a tight envelope so humid outside air isn't finding its way into wall cavities where it condenses.
- Long-term surface durability — trim, sills, and frame materials that won't hold moisture long enough for moss, algae, or rot to take hold.
A window that's correctly installed for this climate doesn't look any different from one that isn't. The difference is entirely in the flashing, the pan, and the sequencing — the parts nobody sees again after the siding goes up.
The Window-to-Siding Interface Is Where Almost Every Failure Starts
Because we come at new-construction windows from the siding side, we see the interface between the two more clearly than a crew that only sets windows and moves on. Most of the leaks and rot we get called to investigate in older homes trace back to this exact junction — not the window itself, and not the siding itself, but the transition between them.
What has to happen in the right order
- Rough opening prepped and a sloped sill pan installed so any water that gets past the window drains back outside, not into the wall.
- Weather-resistive barrier (housewrap) integrated with the window flanges using proper flashing tape, shingle-lapped from the bottom up so every layer sheds water onto the layer below it.
- Window set plumb, level, and square, then fastened per the manufacturer's schedule — not just "close enough" to hold the trim.
- Head flashing installed last, over the top flange, so it's the outermost layer catching water from above.
- Siding and trim installed to close everything out, with clearances maintained so the window can still shed water even after the cladding is on.
Skip a step, do it out of order, or use the wrong flashing tape for the housewrap it's bonding to, and the assembly can look complete while still having a path for water to get behind it. That's a problem for the whole life of the house, not just the first winter.
Our New-Construction Window Installation Process
We work directly with your builder or framing schedule so windows go in at the right point in the build — after the WRB is on and before siding starts, not squeezed in around other trades. Our process on a Silver Beach job typically runs like this:
- Review the window schedule and rough openings against the actual units delivered — sizes, swing direction, and glazing specs get double-checked before anything is cut or set.
- Install sill pans and back-dam flashing at every opening, sloped to drain outward.
- Integrate flashing tape with the housewrap in the correct shingle-lap order, sealing every seam and corner.
- Set, shim, and fasten each window to manufacturer specification, checking for square and even reveal all around.
- Apply head flashing and verify weep holes and drainage paths are clear and unobstructed.
- Document the flashing details with photos before siding covers them, so there's a record of what's behind the wall if it's ever needed.
That last step matters more than people expect. On a remodel we can sometimes open a wall to check a suspect detail. On new construction, once the siding's up, that record is the only way to know what's really back there.
Choosing Window Materials and Features for This Climate
New construction gives you the freedom to choose the right window from the start, rather than working around whatever was there before. For Silver Beach's exposure — wind-driven rain and persistent damp — the frame material and glazing package matter as much as the installation.
| Frame Material | How It Handles This Climate | Maintenance Reality |
|---|---|---|
| Vinyl | Good moisture resistance, no rot risk, performs consistently in wet conditions | Low — occasional cleaning, no painting or sealing |
| Fiberglass | Very stable through temperature and moisture swings, holds paint well if color changes are wanted later | Low — durable finish, minor cleaning |
| Aluminum-clad wood | Attractive interior wood look with a weather-facing shell, but relies entirely on correct install and sealing at every joint | Moderate — exterior clad protects the wood, but any breach needs prompt attention |
| Bare wood | Handsome, but a poor match for sustained coastal moisture without diligent upkeep | High — regular repainting and sealant checks needed to prevent rot |
We'll talk through these trade-offs with you before your windows are ever ordered. There's no single "right" material for every project — it depends on your budget, your home's design, and how much ongoing maintenance you want to take on. What we won't do is install a product in a way that ignores how it actually behaves in wet, salt-touched marine air.
Glazing and weatherstripping
Double-pane, low-E glazing is standard for new construction here and does a good job managing both heat loss and condensation on interior glass during cold, damp stretches. Beyond the glass itself, the quality of the weatherstripping and the corner-key construction of the sash determines how well the window resists driving rain under wind pressure — a real factor on more exposed lots.
Mistakes We See on New Construction — and How We Avoid Them
- Flashing tape applied in the wrong order, so water is directed behind the layer below instead of over it.
- No sill pan, leaving no drainage path if water ever gets past the window itself.
- Housewrap cut and taped back loosely around the opening instead of properly integrated, leaving gaps at the corners where most leaks start.
- Windows set out of square to make trim installation faster, which stresses the sash and shortens the life of weatherstripping and hardware.
- Siding installed with zero clearance at the window edges, trapping moisture against the frame instead of letting it drain and dry.
- No photo documentation of flashing before it's covered, leaving no way to verify the work later if a problem shows up.
Every one of these is preventable with the right sequencing and a crew that treats the window opening as critical, not routine.
Why a Crew That Already Works Silver Beach Is Worth Choosing
General window crews can hang a window correctly on paper and still miss what matters in this specific climate — because they're not the ones getting called back when a poorly flashed opening starts leaking two winters later. We are a Bellingham-based siding company, and new-construction window work is part of how we build a home's exterior envelope, not a side job we subcontract out and hope goes well.
That means we already know how Whatcom County's inspectors expect flashing and drainage details to look, how local builders sequence their framing and dry-in schedules, and which materials hold up honestly against this area's rain and humidity rather than just looking good in a showroom. When we set your windows, we're doing it as the same crew that's about to install your siding around them — so the two systems are built to work together from day one, not patched together after the fact.
What to Expect for Timeline
Window installation on new construction typically happens over one to a few days per home, depending on the number and size of openings, and it's scheduled tightly with your framer's dry-in timeline — windows go in as soon as the WRB is ready and before siding starts. We coordinate directly with your builder or general contractor so there's no gap where the house sits open to weather longer than necessary, which matters given how quickly moisture finds its way into an exposed frame here.
If you're building in Silver Beach and want windows installed by a crew that treats the flashing details as seriously as the finished look, we'd be glad to walk your plans with you. Reach out below for a free, no-pressure estimate — there's no obligation, just a straight conversation about what your project needs.