 Bellingham Siding
 New Homes and Additions in Lynden Put Windows to the Test Early
Lynden is still a place where people build. Between infill lots, farmhouse rebuilds, and additions on established properties, we get called out to new-construction window work on a regular basis — not just replacement jobs on aging homes. That's a different scope of work than swapping out a tired window in an existing wall, and it deserves its own explanation, because the stakes are higher: get a new-construction window wrong and you're not just replacing a unit in ten years, you're chasing water intrusion inside a wall system that was supposed to be built right the first time.
Whatcom County's climate doesn't forgive shortcuts. Even this far inland from Bellingham Bay, Lynden gets driving rain off the Sound, long stretches of damp gray weather that keep siding and trim wet for days at a time, and a moss season that runs longer here than in most of the country. Open farmland exposure and winter outflow winds coming down out of the Fraser Valley add wind-driven rain to the mix. A new-construction window is only as good as the flashing detail around it, and that detail either gets done correctly during framing or it becomes a hidden problem for whoever owns the house next.
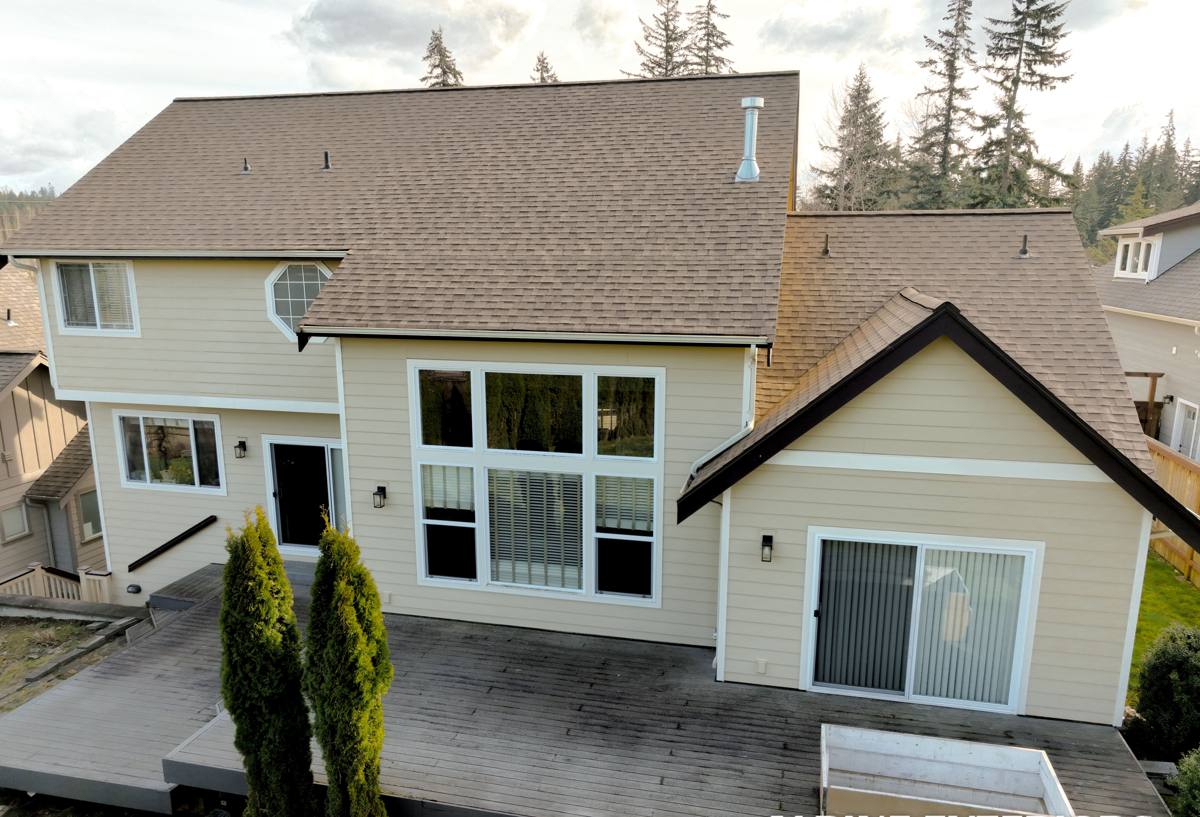
What "New-Construction" Actually Means
The term gets used loosely, so it's worth being precise. A true new-construction window has a nailing fin (also called a nailing flange) around the perimeter of the frame. That fin gets fastened directly to the wall sheathing before the weather-resistive barrier (housewrap) and siding go on, which means the window becomes part of the wall's water management system rather than something inserted into it afterward.
Nail-Fin vs. Block-Frame vs. Insert Windows
There are three basic approaches, and each has a place:
- Nail-fin (new-construction) windows — installed into open framing before siding, flashed in shingle-lap sequence with the housewrap. This is the standard for new builds, additions, and any project where the wall is opened down to the studs.
- Block-frame windows — no fin, fastened through the frame into the rough opening. Common in masonry construction or where a fin isn't practical.
- Insert (pocket/retrofit) windows — set into the existing frame without disturbing the surrounding siding or trim. This is the right call for a straightforward replacement, not for new framing.
Using an insert window where a nail-fin window belongs — or vice versa — is one of the more common corner-cutting moves we see on jobs we get called in to fix. The window itself might be a good product; the failure is in matching it to the wall assembly it's going into.
What Whatcom County's Climate Asks of a Window System
None of this is exotic engineering, but it does require discipline:
- Driving rain resistance. Wind-driven rain off the Sound and across open Lynden farmland pushes water sideways against a wall, not just straight down. Flashing has to be built to shed water outward at every lap, not just keep it from pooling.
- Long wet-to-dry cycles. Wood and fiber-based trim around a window opening stays damp longer here than in drier climates. Any organic material in direct contact with unmanaged moisture becomes a rot risk over years, not months.
- Moss and biological growth. A long moss season means anything that traps standing moisture — a poorly sloped sill, a missing weep path — becomes a growth surface, and growth holds moisture against the frame and siding longer.
- Condensation from temperature swings. Cold snaps from outflow wind events followed by damp, mild stretches create real condensation potential at the glass and frame if the window's thermal performance and interior air sealing aren't matched properly.
The upshot: in this region, the flashing and sealing detail around a new-construction window matters at least as much as the window unit itself.
The Installation Sequence That Keeps Water Out
There's a correct order of operations for a nail-fin window, and it doesn't leave room for improvising. Get the sequence backward and you can install an excellent window and still end up with water behind the wall.
The Sequence, In Order
- Rough opening checked for square, level, and correct size before the window ever shows up on site.
- Sloped sill pan flashing installed first, with back-dam and end-dams, so any water that gets past the window drains back outward rather than into the wall cavity.
- Window set, shimmed for square and level, and fastened per the manufacturer's schedule — not over-driven, which can bow the frame and cause the sash to bind or fail to seal.
- Jamb flashing tape applied over the side nailing fins.
- Head flashing installed last, lapped over the housewrap below and under the housewrap above — water always moves down and out, never in.
- Backer rod and appropriate exterior sealant at the trim-to-siding joint, sized correctly rather than just caulked over a gap.
- Interior air sealing (low-expansion foam or backer rod plus sealant) so conditioned air isn't leaking out around the frame, which drives condensation at the glass edge.
Quick Checklist for Homeowners and Builders
- Sill pan flashing installed and sloped before the window goes in — not skipped, not an afterthought
- Flashing sequenced shingle-style with the housewrap (sides before head, head lapped over housewrap)
- Window shimmed square, not fastened tight against an out-of-square opening
- Fasteners at manufacturer-specified spacing, not over-driven
- Exterior joint sealed with backer rod and sealant sized to the gap, not just a bead of caulk
- Interior perimeter air-sealed, not left open behind the trim
Choosing Frame Material and Glass Package for a Lynden Build
Vinyl, fiberglass, and wood-clad are the three options most homeowners weigh for a new build or addition. Each is a legitimate choice; the right one depends on budget, maintenance appetite, and how the window will be used.
| Frame Material | Upfront Cost | Maintenance | Best Fit |
|---|---|---|---|
| Vinyl | Lowest | Minimal — no painting, won't rot | Budget-conscious builds, rental properties, most standard homes |
| Fiberglass | Mid to upper | Low — very stable dimensionally, holds paint well if painted | Larger openings, homes wanting a narrower sightline with strength |
| Wood-clad | Highest | Moderate — exterior clad is low-maintenance, interior wood needs periodic care | Owners prioritizing a natural wood interior look |
For glass packages, we push new-construction clients toward a double-pane, low-E, argon-filled unit with a U-factor and solar heat gain coefficient suited to the Northern climate zone under the current Energy Star criteria. It's not an upsell — it's the baseline that actually performs here, especially given how many gray, low-light months this region sees compared to the amount of direct summer heat gain.
What Drives Cost on a New-Construction Window Job
Pricing swings more on a new build than on a simple replacement, because there are more variables in play before a single window ships.
| Cost Factor | Why It Matters |
|---|---|
| Frame material | Vinyl, fiberglass, and wood-clad price out differently, and the gap widens on larger units |
| Size and window count | Larger openings and higher window counts drive both material and labor cost up together |
| Glass package | Tempered glass, upgraded low-E coatings, and gas fills add cost but pay back in comfort and energy use |
| Site access and timing | Rural lots, longer driveways, and tight coordination windows with a framing crew affect labor scheduling |
| Flashing and trim detail | Correct sill pan flashing and exterior trim work take real time — this isn't the place to shop for the fastest bid |
Be cautious of a bid that's noticeably cheaper than the others for the same window count and size — it's usually cheaper because flashing steps or trim detail were left out of the scope, not because the contractor found a better price on materials.
How We Coordinate With Builders and Homeowners in Lynden
New-construction window work almost always means working alongside someone else's schedule — a general contractor, a framing crew, or a homeowner acting as their own builder. Our process starts with a site visit during framing, not after, so we can confirm rough openings against the actual window sizes before anything is ordered. From there we handle:
- Measuring and ordering to match the framed openings, with lead time built in for special sizes
- Scheduling the install to land at the right point in the build — after sheathing and housewrap, before siding closes the wall up
- Flashing and integrating the windows with whatever siding system is going on next, so the water management is continuous from window to wall
- Walking the job with the builder or homeowner before siding covers the flashing for good
That last step matters more than people expect. Once siding goes up, the flashing behind it is invisible for the life of the house. Catching a problem before that point is a five-minute fix. Catching it five years later means pulling siding off a wall to find out why there's a stain on the interior drywall.
Mistakes We Routinely Correct
None of these are exotic failures — they're the same handful of shortcuts, over and over, on jobs we get pulled into after the fact:
- Sill pan flashing skipped entirely or replaced with a bead of caulk under the window
- Housewrap taped over the nailing fin instead of lapped correctly, which sends water into the wall instead of down and out
- Fasteners over-driven into the fin, distorting the frame enough that the sash doesn't seal evenly
- Exterior trim caulked tight all the way around with no weep path, trapping any water that does get in
- Interior perimeter left unsealed, leading to drafts and condensation at the frame edge during cold snaps
We flag these as installation standards, not brand complaints — a quality window installed against any of the shortcuts above will still leak or underperform. The window is rarely the problem; the install sequence is.
Why a Crew That Already Works Lynden Matters
Lynden's building conditions aren't identical to downtown Bellingham's. Open exposure, farmland wind patterns, and the area's particular mix of new construction and older farmhouse rebuilds mean a crew that works here regularly has already seen how flashing details hold up — or don't — through a few wet seasons. That's the kind of judgment that doesn't come from a spec sheet. It comes from having gone back to check on work after a winter of driving rain and outflow wind, and adjusting the detail accordingly on the next job.
If you're framing a new home or opening up a wall for an addition in Lynden, we're glad to walk the site, look at your rough openings, and talk through window and flashing options before anything gets ordered. The estimate is free, there's no pressure, and you can use the form below to get in touch.