 Bellingham Siding
 New-Construction Windows for Birch Bay Homes
If you're framing a new home, building an addition, or doing a gut renovation down to the studs in Birch Bay, you have a choice most homeowners never get: installing windows the way they're supposed to go in, with a full nailing fin, proper flashing sequence, and a weather-resistive barrier tied in correctly from the start. That's a very different job from replacing an old window in an existing opening, and it's worth understanding the difference before you order product or hire a crew.
Birch Bay sits right on the water in Whatcom County, and that location shapes what a window installation needs to survive here. Salt-laden air off the bay accelerates corrosion on hardware and fasteners. Wind-driven rain during winter storms pushes water sideways into wall assemblies, not just straight down. And the long, damp moss season that defines this part of Washington keeps north-facing walls and low-slope trim wet for weeks at a time. A window that's installed correctly shrugs all of that off for decades. One that's installed with shortcuts will show it — usually inside the wall, where you can't see it until there's already damage.
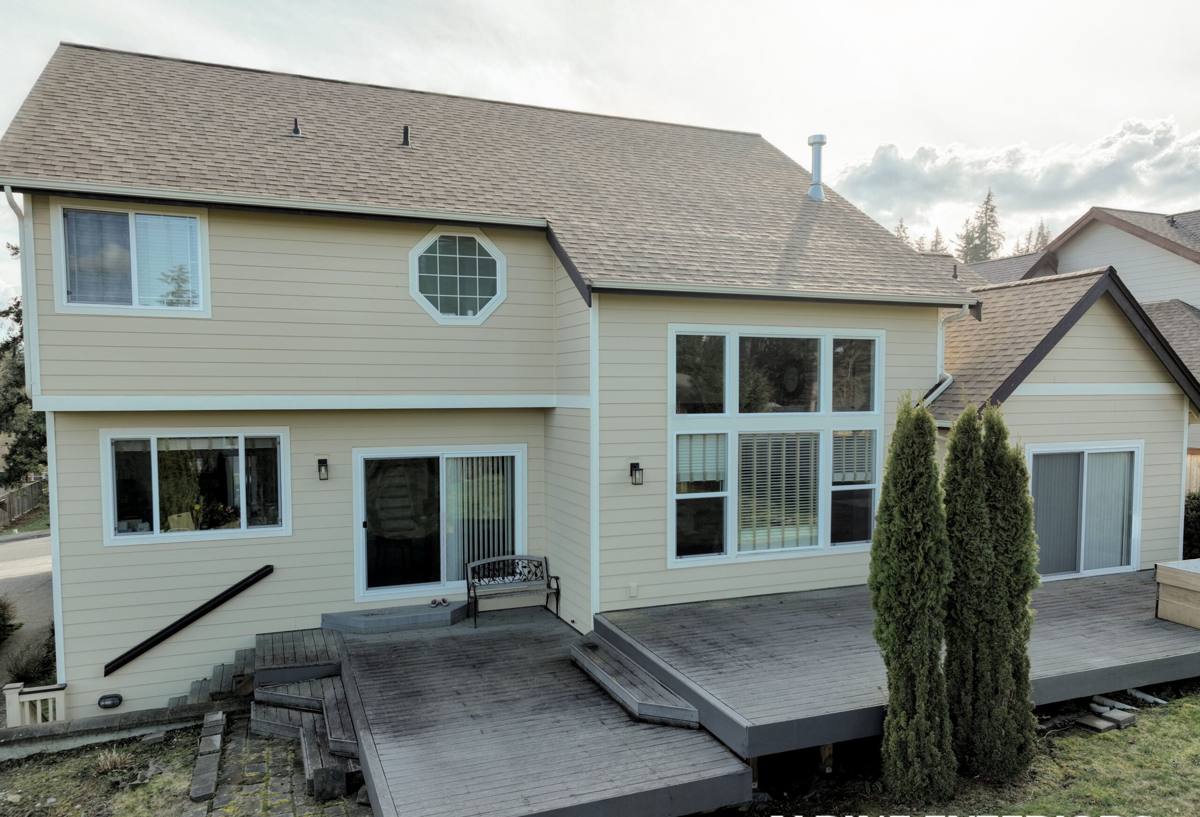
New-Construction vs. Replacement Windows — Why It Matters Here
New-construction windows have a flange, or nailing fin, around the perimeter of the frame. That fin gets fastened directly to the sheathing before siding goes on, and it becomes part of the drainage plane for the whole wall. Replacement (retrofit) windows are built without that fin, designed to slide into an existing frame during a remodel without disturbing the siding around it.
On a new build or addition in Birch Bay, you want the nailing-fin version done right — because you only get one shot at building the flashing and drainage plane correctly before the siding closes everything up. Get it wrong here, and the mistake is buried behind finished walls for the life of the house.
What "Done Right" Actually Means
- A sloped sill pan under every opening, so any water that gets past the window drains back out — not into the framing
- Flashing tape or self-adhered membrane lapped in proper shingle-style order: sill, then sides, then head, so water always sheds downward and outward
- The weather-resistive barrier integrated with the window flashing, not just taped over it as an afterthought
- Corrosion-resistant fasteners rated for coastal exposure, not standard interior-grade hardware
- Proper shimming and squaring so the sash operates smoothly and the seal isn't stressed for years to come
What Birch Bay's Climate Asks of a Window Installation
Salt Air and Corrosion
Homes within a mile or two of the water deal with airborne salt that settles on every exterior surface, including window hardware, screws, and flashing. Standard galvanized fasteners can start showing rust streaks within a few years in this environment. We spec stainless or coated fasteners and hardware rated for coastal use on Birch Bay jobs, because replacing corroded fasteners after the siding is on is a much bigger job than choosing the right ones up front.
Wind-Driven Rain
Storms coming off the water don't just drop rain straight down — they push it sideways and upward under trim and around openings. That's exactly the scenario a proper sill pan and shingle-lapped flashing are built to handle. It's also why we pay close attention to window orientation on the west and south-facing walls of a Birch Bay home, where wind-driven rain hits hardest.
Moss and Sustained Moisture
Whatcom County's long wet season means north-facing and shaded walls stay damp far longer than walls that get afternoon sun. Moss and mildew growth around window trim isn't just cosmetic — sustained moisture against wood trim or poorly sealed joints is what eventually leads to rot. Detailing the trim and caulk lines to shed water cleanly, and choosing trim materials that don't hold moisture, matters more here than in drier parts of the state.
Choosing a Frame Material for a Coastal Site
There's no single "best" window frame material — it depends on your budget, your home's style, and how much maintenance you want to take on. Here's how the common options hold up specifically in a Birch Bay coastal environment:
| Frame Material | Coastal Performance | Maintenance | Typical Trade-Off |
|---|---|---|---|
| Vinyl | Good — won't corrode or rot; UV-stable formulations hold color well | Low — occasional rinse to clear salt film | Limited color/style range compared to other materials |
| Fiberglass | Very good — dimensionally stable, resists warping in temperature swings off the water | Low | Higher upfront cost than vinyl |
| Wood-clad | Fair — the exterior cladding protects the wood, but any breach in the cladding seal lets moisture into the wood core | Moderate to high — cladding seams need periodic inspection | Best interior look, but more moisture risk near the water |
| Aluminum | Fair — durable but a poor thermal insulator, and standard finishes can pit over time in salt air without marine-grade coatings | Low to moderate | Slim sightlines, but energy performance suffers in our climate |
For most Birch Bay builds, we steer homeowners toward vinyl or fiberglass because they hold up to salt air and driving rain with the least long-term upkeep. We'll still install wood-clad or aluminum when the design calls for it — we just make sure you understand the maintenance commitment that comes with it before you commit to the product.
Our Installation Process
1. Plan Review and Product Selection
We start with your building plans or existing rough openings, confirm sizes and swing directions, and walk through frame material, glass package, and hardware options based on your home's exposure — is it facing the water directly, tucked behind other structures, mostly shaded, mostly exposed to afternoon sun?
2. Opening Prep
Before a single window goes in, we confirm the rough opening is square, dry, and properly sized, and that the weather-resistive barrier is in place and ready to integrate with the flashing.
3. Sill Pan and Flashing
Every opening gets a sloped sill pan and shingle-lapped flashing tied into the WRB, in that order, before the window itself is set.
4. Setting, Shimming, and Fastening
The window is set into the opening, shimmed level and square, and fastened through the nailing fin with corrosion-resistant hardware sized for the framing and exposure.
5. Sealing and Head Flashing
Sealant goes where it belongs — and just as important, not where it doesn't. A head flashing or drip cap is set to shed water over the top of the window before siding closes it in.
6. Final Inspection
We check operation, seal continuity, and squareness on every unit before we call the job done, and before the siding crew (whether that's us or your general contractor) covers the work.
Mistakes We See on Coastal New-Construction Jobs
Most window problems in Birch Bay homes don't come from a bad window — they come from an installation that skipped a step nobody can see once the siding is on. Watch for these on any job, including your own:
- Flashing taped in the wrong order (head before sides, or sides before sill) so water gets trapped instead of shedding out
- No sill pan, relying on caulk alone to keep water out of the framing
- Standard fasteners used within sight of the water, where salt air accelerates corrosion
- Windows set out of square, straining the seal and hardware from day one
- Siding installed before the window flashing has been inspected and tied properly into the WRB
Timing Windows with Your Build Schedule
New-construction windows need to go in at a specific point in the build sequence — after the WRB is on and the rough openings are framed and sealed, but before siding starts. Ordering windows early enough to hit that window (custom sizes and certain glass packages can run several weeks out) keeps your framing and siding crews from sitting idle waiting on product. We coordinate directly with your general contractor or builder on timing so the sequence doesn't stall your schedule.
Maintenance After Installation
A correctly installed window in Birch Bay still benefits from basic upkeep given the local climate:
- Rinse frames and hardware periodically to clear salt residue, especially on homes with direct water exposure
- Inspect exterior caulk lines annually and re-seal any that have cracked or pulled away
- Keep gutters and downspouts clear so roof runoff isn't dumping extra water against upper-floor window trim
- Watch for moss buildup on north-facing trim and clear it before it holds moisture against the wood or siding
None of this is heavy maintenance — it's the kind of seasonal check that takes an hour and saves you from a much bigger repair down the road.
Why Local Installation Experience Matters
Window flashing details that work fine in a dry inland climate aren't always enough for a site that takes direct wind-driven rain off the water. Crews who install windows across Whatcom County, on homes with this exact coastal exposure, know where Birch Bay builds tend to take on water and detail accordingly — sill pans sloped a bit more aggressively, extra attention on west and south-facing walls, hardware specified for salt air from the start. That's the kind of judgment that only comes from doing this work in this specific place, not from a generic install checklist.
If you're planning new-construction windows for a home or addition in Birch Bay, we're happy to walk your plans, talk through frame and glass options for your site's exposure, and give you a straightforward, no-pressure estimate. There's a form below — reach out and we'll get you scheduled.