 Bellingham Siding
 Why Birch Bay's Waterfront Climate Is Especially Hard on Siding
Birch Bay sits right on the Salish Sea, and that waterfront location changes what a home's exterior has to survive year-round. Homes here deal with three things at once: salt-laden air rolling off the water, wind-driven rain that gets pushed sideways into wall assemblies during winter storms, and a long, damp moss and algae season that can run from fall through spring. Any one of these would wear down siding over time. Together, they're the reason siding that looks fine at year five can be failing underneath by year twelve if it wasn't installed with this specific climate in mind.
Salt air is corrosive to exposed metal fasteners, trim flashing, and unprotected wood fiber. Wind-driven rain doesn't just fall on siding — it gets forced up and under laps, seams, and trim if the water-resistive barrier and flashing details underneath weren't done correctly. And constant moisture plus shade (common on north- and west-facing walls near mature trees or close-set homes) is exactly what moss and algae need to take hold. A siding system built for a drier inland climate, or installed without attention to these three stressors, simply doesn't hold up the same way in Birch Bay as it might twenty miles inland.
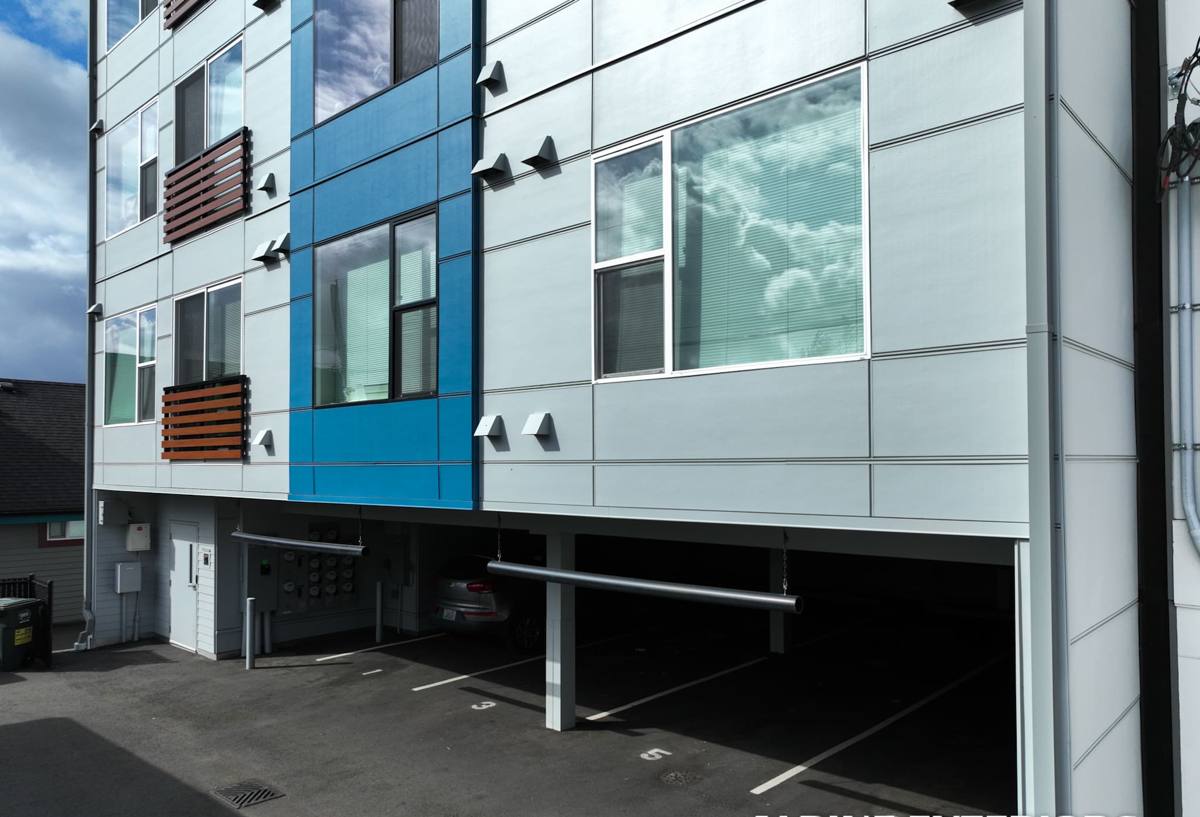
Signs a Birch Bay Home Needs Siding Replacement, Not Just Repair
Not every siding problem calls for a full tear-off. But in a marine environment, small issues tend to point to bigger ones happening behind the surface. Here's what we look for during an inspection:
- Soft, spongy, or crumbling siding, especially near the bottom courses and around window and door trim
- Visible moss or dark algae staining that keeps coming back within a season or two of cleaning
- Paint that's peeling, bubbling, or failing faster than a normal repaint cycle would suggest
- Rust streaking from fasteners or trim, a common sign of salt-air corrosion
- Gaps, warping, or separation at seams and corners, which lets wind-driven rain track behind the siding
- Interior signs — musty smells, soft drywall, or staining near exterior walls — that point to moisture already inside the wall assembly
If we find soft wood sheathing or a wet water-resistive barrier once we open a wall up, that's confirmation the siding has been letting water in for a while, and patch repairs won't fix the underlying problem. That's the point where full replacement is the honest recommendation, not the upsell.
What a Correct Siding Replacement Actually Involves
Siding replacement done right is mostly about what happens before the new siding ever goes up. In a coastal environment like Birch Bay, skipping or rushing these steps is exactly how a ten-year-old siding job ends up failing early.
Full Tear-Off and Inspection
We remove the old siding and trim completely rather than installing over it. This lets us actually see the sheathing and framing underneath — which is the only way to catch rot, soft spots, or old moisture damage before it's covered up again.
Sheathing Repair
Any damaged sheathing gets cut out and replaced. Covering rotten wood with new siding doesn't stop the rot; it just hides it for a while longer.
Water-Resistive Barrier and Flashing
This is the layer that actually keeps wind-driven rain out of the wall. Every window, door, and penetration gets flashed and integrated with the barrier in the correct shingle-lap order — water always drains down and out, never gets trapped behind a lap. This detail matters more in Birch Bay than almost anywhere else in Whatcom County, given how much sideways rain the site gets off the water.
Correct Fastening and Gapping
Fiber cement siding has manufacturer-specified nailing patterns, gaps, and clearances (including ground clearance and gaps at trim and butt joints) that are there specifically to let the material handle moisture and movement without failing. Skipping these specs is one of the most common causes of early siding problems we see when we tear off other contractors' work.
Why We Install Only James Hardie Fiber Cement
We standardized on James Hardie fiber cement siding and don't install vinyl, LP SmartSide, or other fiber cement brands. That's not a marketing position — it's what we've found actually holds up to the conditions homes in Birch Bay and the rest of Whatcom County face.
Fiber cement doesn't rot, and it doesn't feed moss and algae growth the way wood-based products can when they stay damp for months at a time. It's non-combustible, which matters given the dry-summer wildfire smoke and ember risk the region has seen in recent years. Hardie's factory-applied ColorPlus finish is baked on and warranted against fading and peeling, which matters in a spot where sun, salt, and rain all attack a paint film at once. And Hardie engineers specific product lines — HZ5 among them — for climates with sustained moisture exposure, which describes Birch Bay about as well as any zone designation could.
Vinyl siding can work loose or warp in sustained wind, and it has no real fire resistance. LP SmartSide and other wood-strand products are engineered wood — better than raw cedar in some ways, but still wood fiber that depends entirely on an intact factory coating to keep moisture out over time, which is a harder bet to make on a home that sits in salt air and rain most of the year. None of these are junk products. They're just not what we've chosen to put our name behind, and not what we'd recommend for a home exposed to this particular climate.
Our Siding Replacement Process
- On-site inspection — we look at the current siding, trim, and (where accessible) the condition of the sheathing underneath
- Written estimate — scope, product line, color, and a clear cost breakdown, no vague allowances
- Tear-off and sheathing repair — old material removed, any damaged wood replaced
- Water-resistive barrier and flashing installed — the step that determines whether the job lasts
- James Hardie siding and trim installed to manufacturer fastening and clearance specifications
- Final walkthrough — we go over the finished work with you before calling the job done
What Siding Replacement Costs Depend On
Every home is different, so we don't quote firm numbers without seeing the house, but these are the factors that move the price up or down on most Birch Bay projects:
| Factor | Why It Matters |
|---|---|
| Home size and number of stories | More surface area and taller walls both add material and labor time |
| Condition of the sheathing underneath | Rot or moisture damage found during tear-off adds repair work before new siding can go on |
| Existing siding type | Some materials come off faster and cleaner than others |
| Trim and detail work | Homes with more windows, corners, and architectural trim take more time to flash and finish correctly |
| Product line and color | Hardie's panel, lap, and shingle-style lines vary in material cost and installation time |
| Site access | Waterfront lots, tight setbacks, or steep grades can affect staging and labor time |
Why Hiring a Crew That Already Works Birch Bay Matters
A siding crew that mostly works drier, inland jobs can still do competent work — but they may not default to the flashing details, product lines, and fastening tolerances that a marine environment actually requires unless they're used to building for it. A crew that regularly works Birch Bay and the surrounding Whatcom County coastline already knows to plan for wind-driven rain at every opening, expects the moss and algae exposure on shaded walls, and specs materials rated for sustained coastal moisture as a default, not an upgrade.
When you're vetting a contractor for this kind of job, a few questions tend to separate a solid coastal-experienced crew from one that isn't:
- Do they do a full tear-off, or install new siding over the old material?
- Do they inspect and repair sheathing before re-siding, and is that spelled out in the estimate?
- Can they explain their flashing and water-resistive barrier approach in plain terms?
- Do they follow the manufacturer's published installation instructions for fastening and clearances?
- Are they licensed and insured to work in Washington, and can they provide proof?
Maintaining Hardie Siding After Installation
Correctly installed fiber cement siding is low-maintenance, but "low" isn't "none," especially this close to the water. A simple annual routine goes a long way:
- Rinse the exterior down once or twice a year to clear salt residue and early moss growth before it takes hold
- Keep gutters clear so water isn't overflowing onto siding below
- Trim back vegetation that's shading walls and keeping them damp longer than they need to be
- Check caulking at trim joints and penetrations periodically, and have any gaps resealed
- Have any impact damage or cracked panels repaired promptly rather than left exposed
If your Birch Bay home's siding is showing signs of wear, or you just want an honest read on whether you're looking at repair or replacement, we're happy to take a look. The estimate is free, there's no pressure, and you'll get a straight answer either way — use the form below to get started.